How to install Ubuntu
Insert media and reboot
• Insert Ubuntu install media into your computer and reboot.
• While your computer boots, you will see the picture on the left with the spinning wheel and Ubuntu logo. It will display your computer manufacturer's logo instead.
Install or Try Ubuntu

• Choose Install Ubuntu.
Select Keyboard Layout
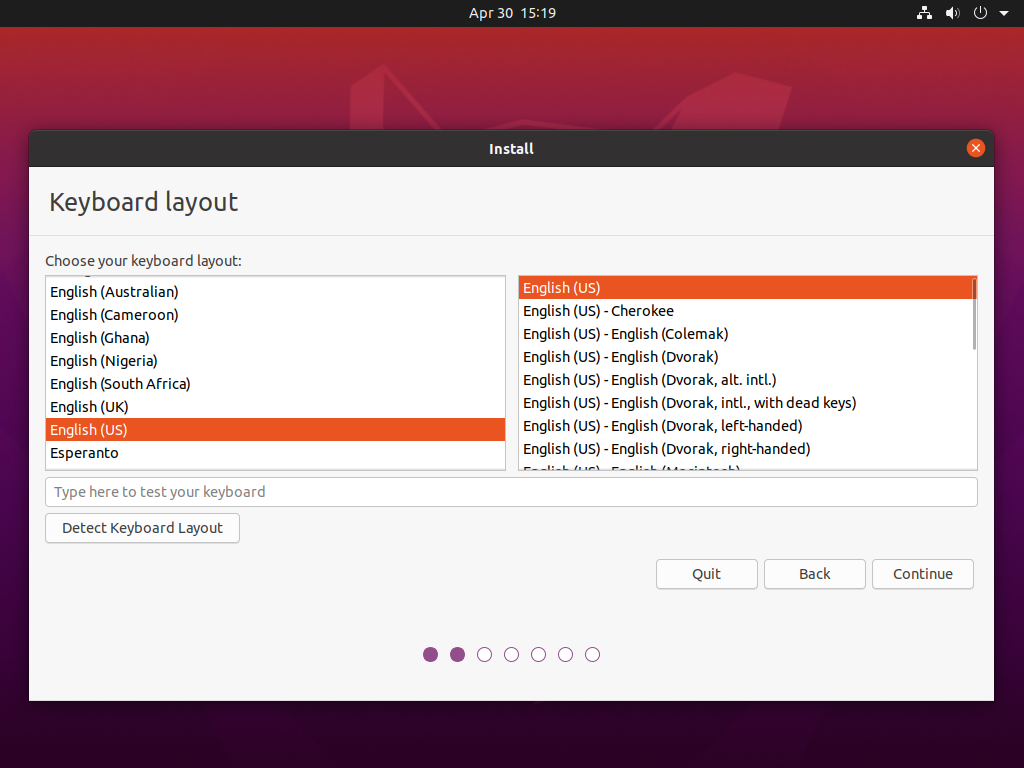
• Choose your language on the left panel.
• Choose your keyboard layout on the right panel.
Updates and Other Software
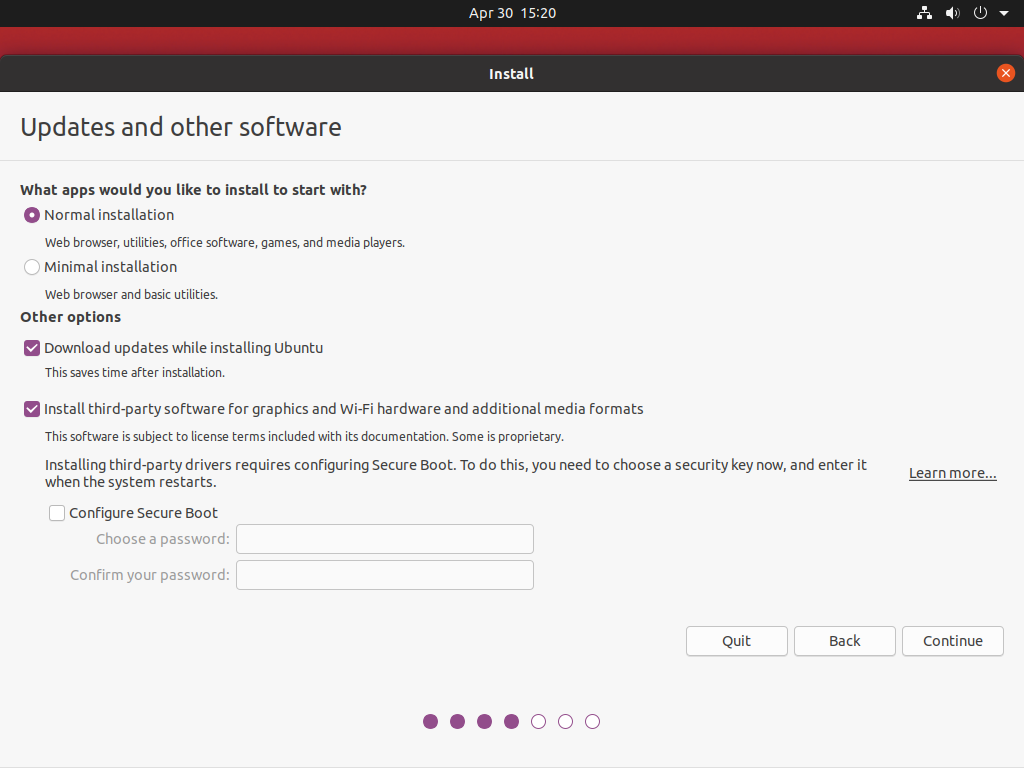
What apps would you like to start with?
• A normal installation installs all of the programs that come with a normal installation of Ubuntu.
• A minimal installation on includes a web broswer and basic utilities. This selection could take longer to install because it has to install all of the normal programs then remove them.
Other options
• Download updates while installing Ubuntu requires more time for installation; however, it saves time in the long run for installing updates.
• Installing proprietary 3rd party software and drivers is recommended for average users as it installs codecs and drivers to allow you to play back media properly and make your hardware work better.
Not recommended for open source purists who do not like to utilize proprietary software.
Installation Type
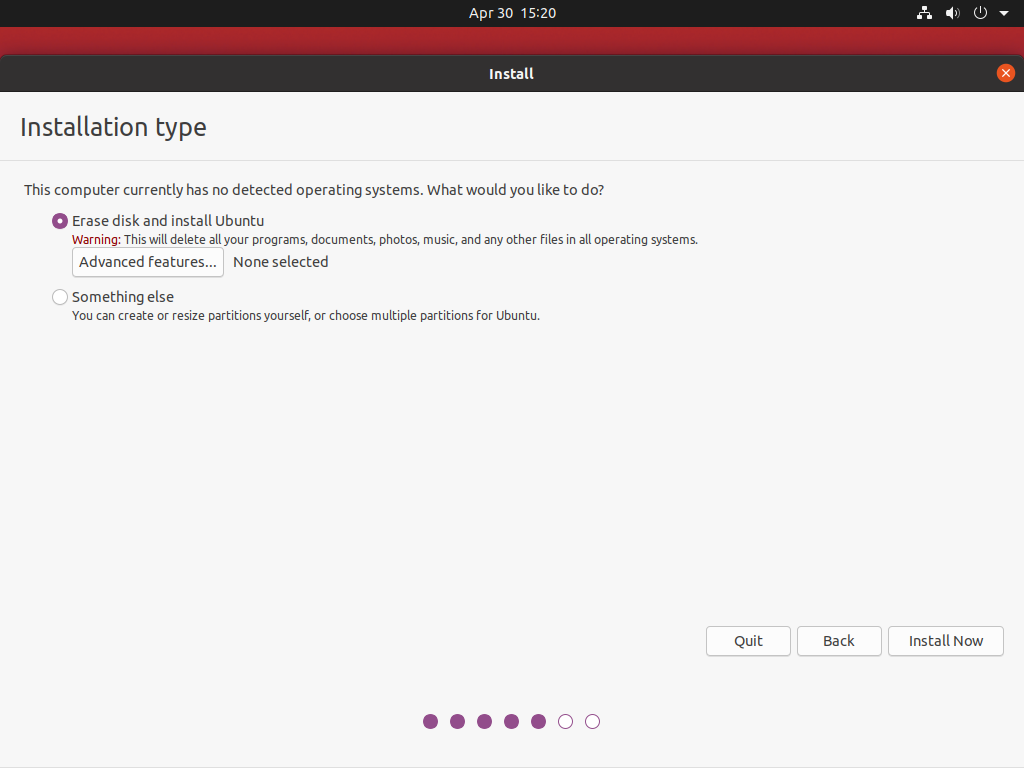
• The erase disk and install Ubuntu option deletes all of your files, programs, and even other operating systems from your computer. Becareful that you have all of your data backed up with this step.
• Something else allows you to modify partitions and set up directories with partitions. This option is more complicated but may preserve your files if done correctly. Further steps are illustrated below.
Installation Type (Continued from Something Else option)

• This screen displays all of your partitions on your hard disk drive.
• New Partition Table… displays a dialog box allowing you to modify your partitions (shown on next step).
• Revert cancels all of your changes you made to the partition table to the way it was before you modified it.
• Install Now applies changes made to your partition table that you have selected. These changes are irreversbile and could delete your data. Make sure you have backed up all of your files before you begin. Selecting this button will allow you to continue.
Installation Type (Continued from Something Else option)
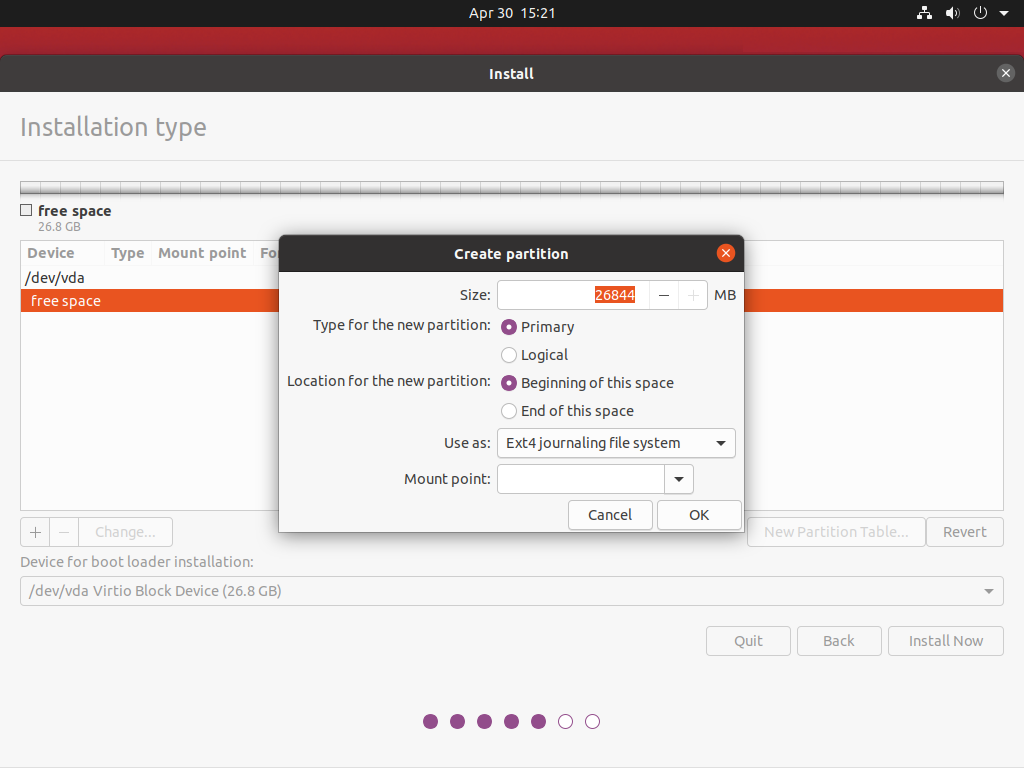
• This screen allows you to create a partition on your hard disk drive.
Type for the new partition:
• A Primary partition is bootable and at least one is required on a HDD. The operating system must be located on this partition. There is a maximum of 2 primary partitions on a single disk.
• A logical partition is not bootable; however, a number of logical partitions are allowed on a single disk. You are able to put directories within these logical partitions.
Use as:
• This drop-down box allows you to choose which file system you want to use for your partition. There are many to choose from, but Ext4 is generally considered a default choice.
Mount point:
• The following drop-down box allows you to choose which directory you want in a partition. The next step will discuss this in more detail.
Installation Type (Continued from Something Else option)

Mount Point Option in detail
/ is the root directory of the operating system. Generally the / folder must be placed in a primary partition for your operating system to boot. This directory option is required for a partition on your disk drive.
/boot indicates this is the directory where the bootable files live. This directory is not necessary if the / directory has been set. Just know that /boot will live within the / directory.
/home is where all of your documents, pictures, videos, application files, and other data live. This is another optional setting as it will live within the / directory if not set. I generally prefer setting the /home directory on its own partition. This allows you to reinstall the operating system without removing all of your data, and will get you back on your feet quicker if it is done properly.
/tmp allows you to separate your temporary files onto another partition. This is not required.
• Other options are not required and is beyond the scope of this tutorial. Use cases for these are limited and targeted to commercial settings.
Time Zone
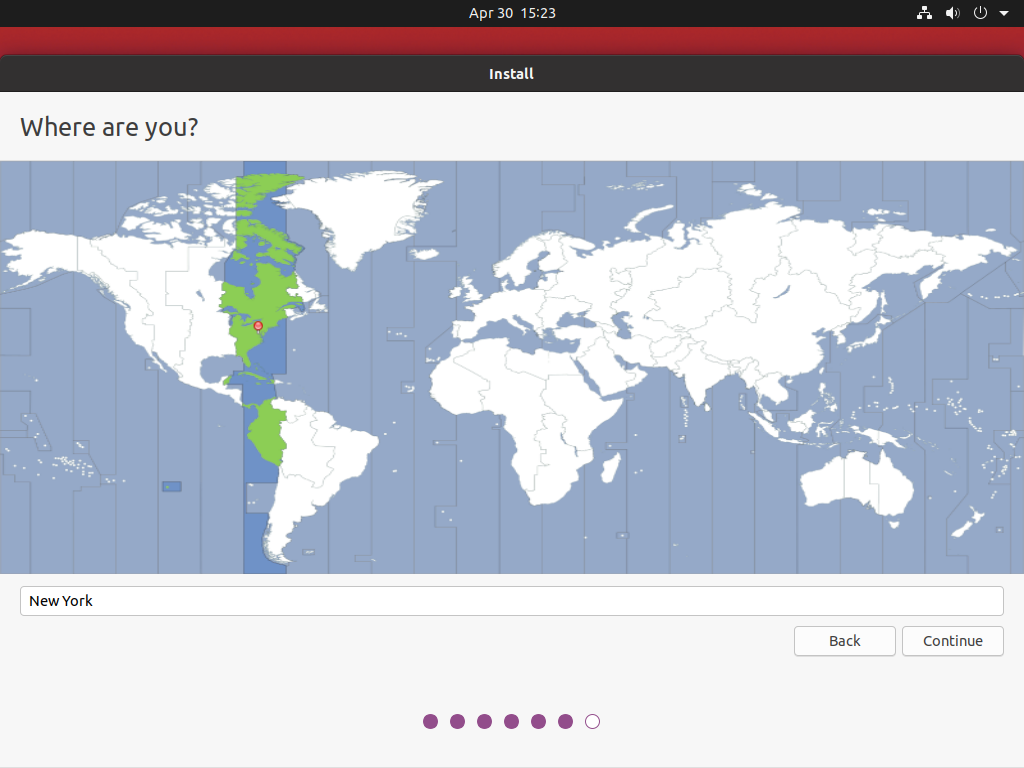
• Select your time zone.
Who are you?
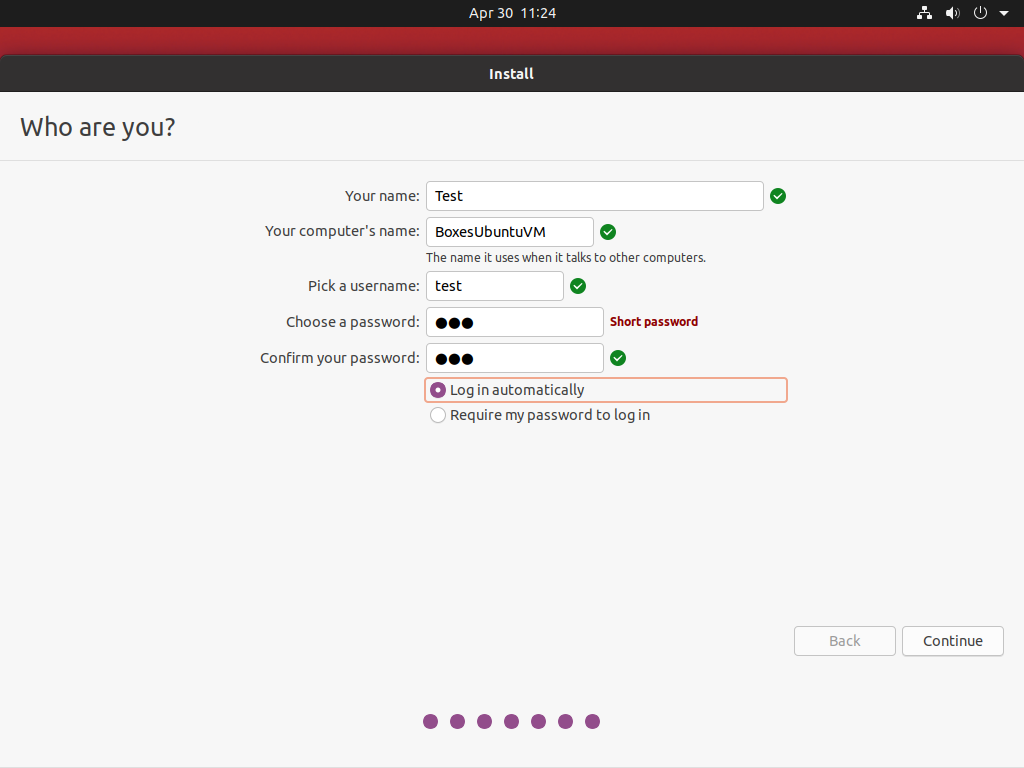
• Type your name in the first input box. Can be changed later in settings.
• Type your computer name.
• Pick a username. This will be used when you login.
• Choose a password.
Login Options:
• Login automatically allows you to boot right into your desktop without having to enter your credentials on startup.
• Require my password to login means you have to enter your login information to access your desktop upon startup.
Installation in Progress
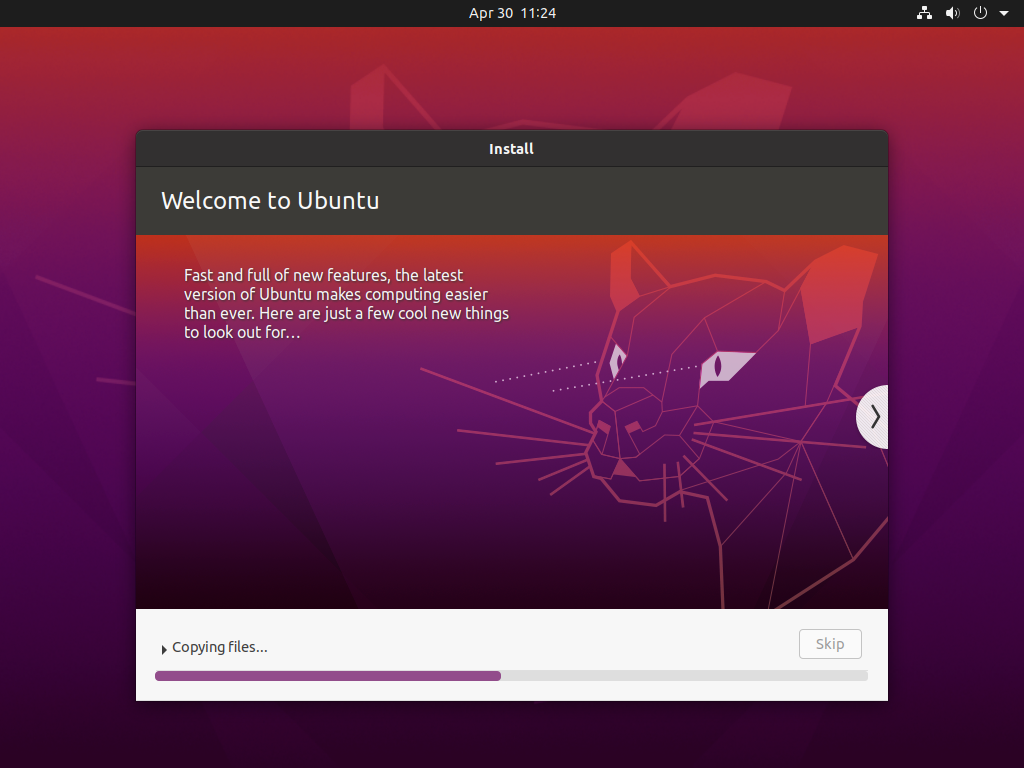
• A slideshow appears explaining all of the wonderful features Ubuntu has to offer.
Installation has Finished

• When the installation has completed, a dialog box will appear. Do not eject the installation medium yet until prompted.
• Click on Restart Now to continue.
Rebooting…
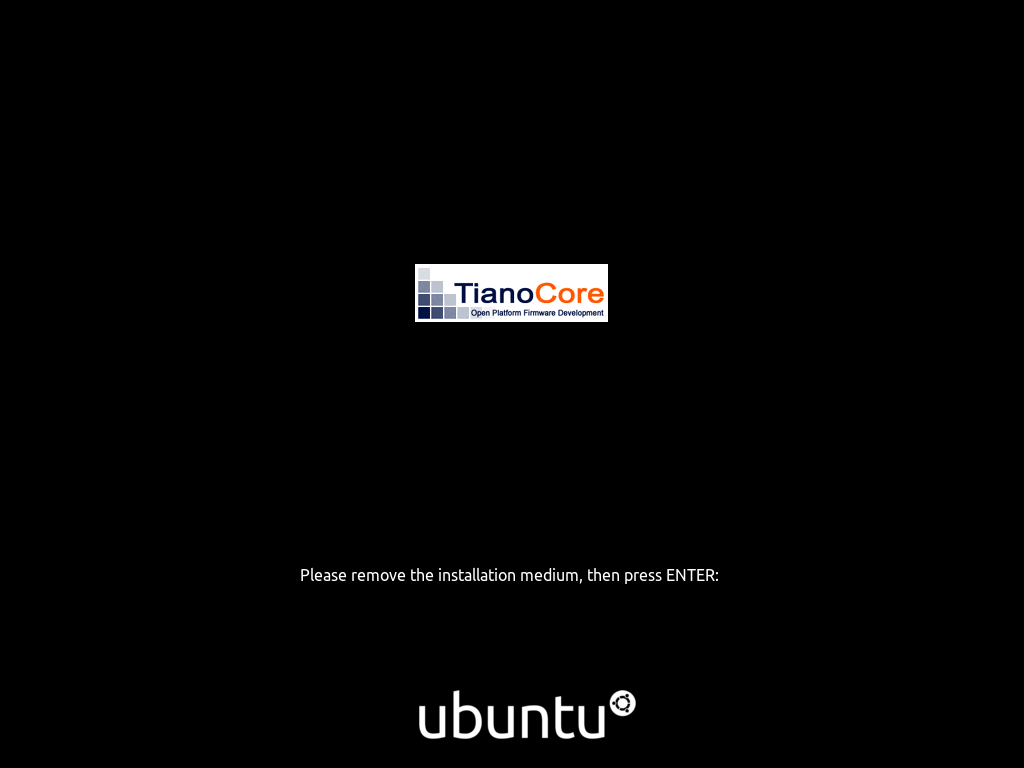
• While the system is shutting down, please eject the medium that you used to install Ubuntu when prompted.
• Press Enter after you have ejected the medium.
Connect your Online Accounts
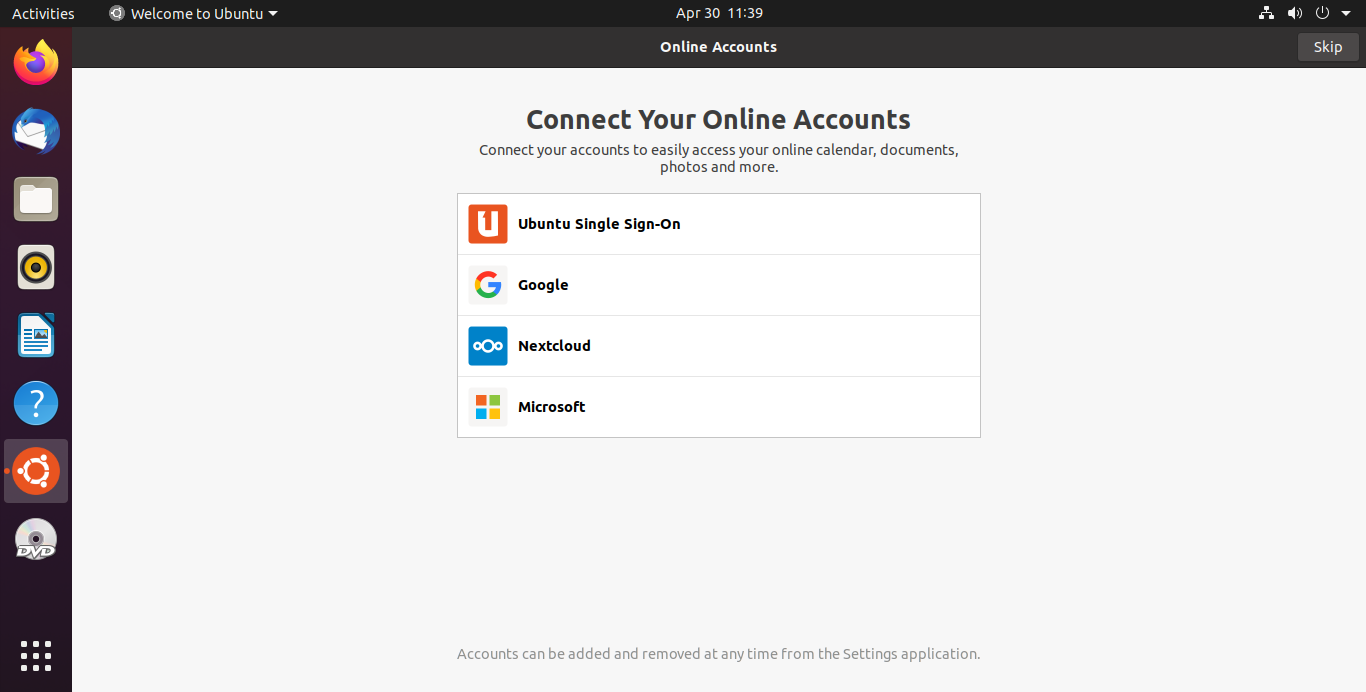
• After rebooting, you are greeted with another set of steps to setup your experience.
• You can choose to connect your online accounts with the following providers now by clicking on their icons.
• If you choose not connect any online accounts with the computer yet, click on Skip at the upper-right corner of the window.
Note: You can choose to connect your online accounts at anytime under Settings > Online Accounts. There are more online accounts to choose from in the Settings menu.
Livepatch

• This screen allows you to setup Livepatch. The purpose of Livepatch is to provide security after updating without having to reboot immediately.
• Setup Livepatch by clicking on Set Up Livepatch…
• If you do not want to setup Livepatch, press Next in the upper-right corner of the window.
Help improve Ubuntu

• Do you want to send information about your limited, anonymized computer info, time zone, and software to Ubuntu?
This is entirely optional and it provides the Ubuntu team with statistics to help guide their business decisions.
Privacy

• Turning this option on allows programs to locate where you are at to provide better geographical services to you.
This option can be changed later in Settings > Privacy > Location Services.
Ready to go!

• A window showing a small, curated collection of software appears.
• To install more software immediately, click on Open Software Now in the lower-left corner of the window.
Note: It will take a few moments for Software to load for the first time.
• If you would like to install software at a later time, click Done in the upper-right corner of the window.
Update Ubuntu

• A new dialog box appears asking if you want to install updates.
• It is recommended to install updates as soon as you can. Click on Install Now to continue.
• If you really want to start playing around with Ubuntu, click on Remind Me Later.
Software Updater
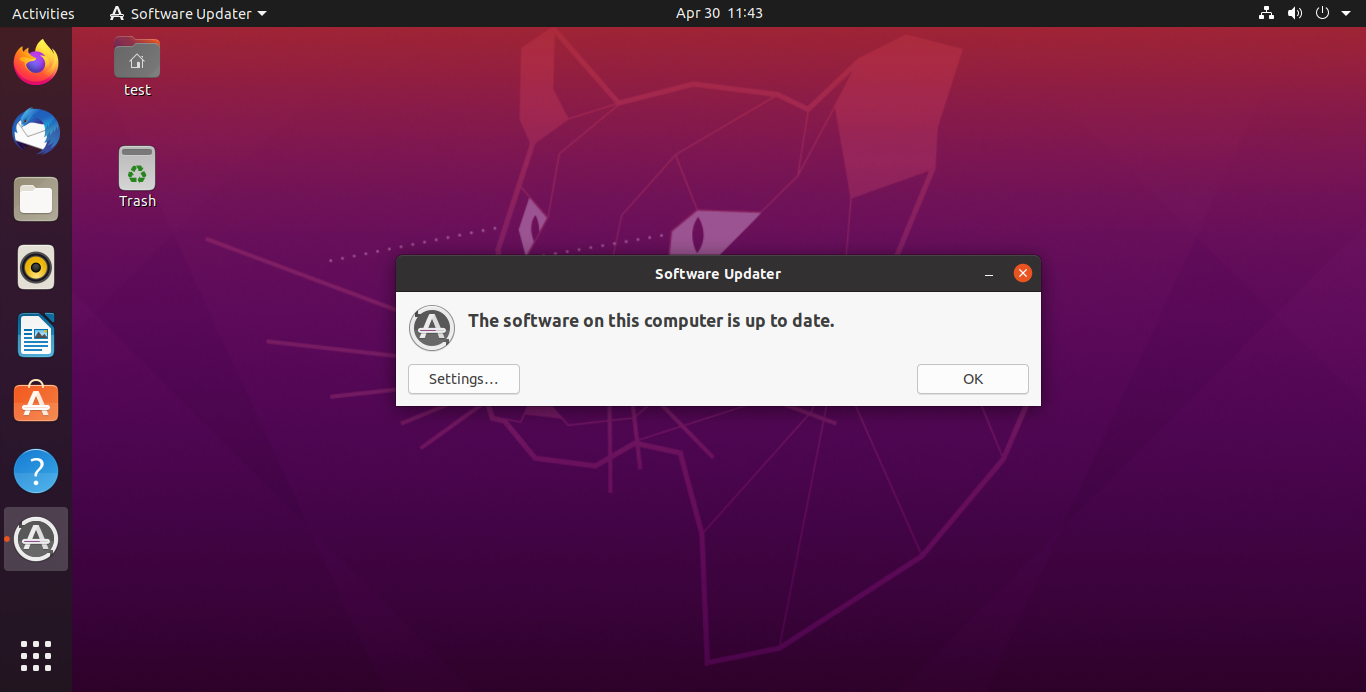
• After updating, the following dialog box appears. Click on OK to continue.